Snip Smarter: The Angled Ribbon Tail Trick for Neater Pressies
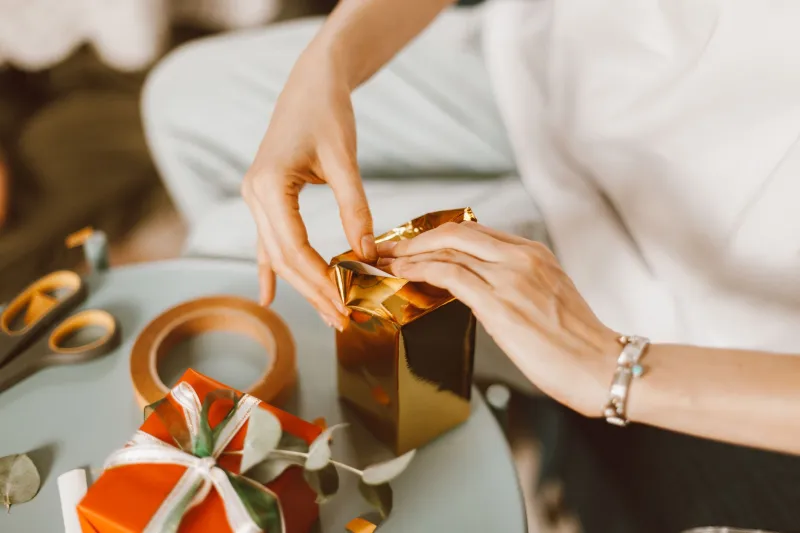
Ribbon tails are the punctuation at the end of a present. Done well, they make a simple sheet of kraft paper look considered, cheerful and ready for the table. Done in a hurry, they can look like an afterthought — square, straggly and strangely stiff. The good news is that one small habit fixes most of it: cutting each tail on a clean 45-degree angle.
Why a tiny angle makes a big difference
A straight-across cut gives a ribbon a blunt edge. On smooth satin it can look abrupt; on grosgrain it can leave a squared-off corner that catches on sleeves, gift bags and the inside of a cupboard. An angled cut softens that edge and makes the tail look intentional. It also gives the eye a neat diagonal line to follow, which is surprisingly flattering to a bow.
Let us be honest, though: a 45-degree cut is not a magic fray-proof seal. Ribbon is woven, and any cut edge can still shed a thread or two. What the angle does is reduce the blunt, square corner that so often starts to unravel, and it makes the end look tidier while you handle the parcel. Think of it as good manners for ribbon rather than a full suit of armour.
The 45-degree cut, step by step
You do not need special equipment. A sharp pair of craft scissors and a flat surface will do. Blunt scissors crush satin and chew grosgrain, so if your blades are reserved for paper, treat yourself to a ribbon-only pair.
- Leave yourself a little room. Tie the bow first, then trim. Cutting tails before you tie is a recipe for ends that are too short and oddly placed.
- Pinch the tail flat between finger and thumb, close to the end. Smooth out any twist so the ribbon sits as a single layer.
- Hold the scissors at roughly 45 degrees to the ribbon, not straight across. Imagine you are slicing the corner off an envelope.
- Cut in one clean stroke. Do not saw at it. A single snip gives a cleaner line and less fraying.
- Bring both tails together and check them side by side. If one looks longer, trim the other to match. Symmetry is what makes the angle look deliberate rather than accidental.
A small tip for patterned ribbons: cut so the angle points down and away from the bow on both tails. It creates a pleasing V shape under the knot and stops the pattern from looking wonky.
How long should a tail be?
There is no single correct length, but there is a useful rule: the bigger the gift and the fuller the bow, the longer the tail. Tiny tails on a big box look mean; long tails on a tiny box look like escaping spaghetti. As a starting point, allow this much ribbon per tail end:
| Gift or bow style | Tail length per end |
|---|---|
| Small box, simple knot | 15–20cm |
| Medium box, classic bow | 25–30cm |
| Large box or hamper, full bow | 35–45cm |
| Statement bow, wreath or door gift | 50cm or more |
If you are unsure, cut long and trim back. It is much easier to remove ribbon than to magic more out of thin air. For a bow with lots of loops, remember that the tails are part of the silhouette. Let them fall below the bow rather than tucking them up like a shy schoolchild.
Match the tail to the ribbon
Different ribbons behave in different ways, so the 45-degree cut is not quite one-size-fits-all. Here is how to handle the three UK crafting favourites.
Grosgrain has a ridged texture that hides small sins and holds a bow beautifully. Cut it firmly at an angle and check for loose threads. A tiny dab of clear nail varnish or a dedicated fray-stopping liquid on the very edge can help, but use it sparingly so the ribbon does not go crunchy.
Satin is slippery and glossy, so the angle shows up clearly. Use very sharp scissors and cut slowly. If you heat-seal the edge, do it safely and well away from little helpers — a quick pass is plenty. Satin tails also benefit from being slightly longer than grosgrain because the smooth surface makes them look shorter.
Velvet is the diva of the ribbon box. It has pile, so a sharp angle can look chunky if you cut too steeply. Keep the cut clean, avoid pressing the pile flat, and let the tail fall naturally. If the end looks fuzzy, trim a millimetre more rather than attacking it with heat.
Quick fixes for limp, twisted and uneven tails
Even tidy crafters have off days. Here are the rescue moves to keep in your back pocket.
- Limp tails: re-cut the end at a fresh angle and gently run the ribbon between your fingers to encourage it to sit straight. For satin, a very cool iron under a cloth can help. For velvet, hold it near — not in — steam.
- Twisted tails: turn the ribbon over and check that it is not spiralling from the bow. Untie the knot if needed and let the tail hang before trimming. A twisted tail will never look neat, no matter how good the angle.
- Uneven ends: gather both tails together after the bow is tied and trim them as a pair. This is the fastest way to get a matching finish.
- Frayed ends: snip just above the fray, cut a new 45-degree angle, and seal lightly if the ribbon type allows. If it keeps shedding, use it for a hidden layer or a smaller craft project rather than a gift that will be handled a lot.
Before and after: a simple wrap to try
Take a paperback book or a small box and wrap it in plain kraft paper. Use a 25mm grosgrain ribbon in a rich colour — deep green, berry red or navy all look lovely in a UK winter. Tie a simple bow and cut the first pair of tails straight across at about 20cm. Step back. They will probably look a little flat and square, especially if the ribbon is stiff.
Now untie, re-tie and cut both tails together at a 45-degree angle, leaving about 30cm per end. Smooth them flat and let them fall below the bow. The difference is not dramatic in a shouty way; it is the quiet difference between a present that has been wrapped and a present that has been finished. The angled ends look lighter, the bow looks more deliberate, and the whole parcel suddenly seems to have had a bit of thought put into it.
That is the 45-degree rule in a nutshell. It costs seconds, needs no extra kit, and makes your ribbon stash work harder. Next time you reach for the scissors, slow down for one clean angled snip — your pressies will thank you.